
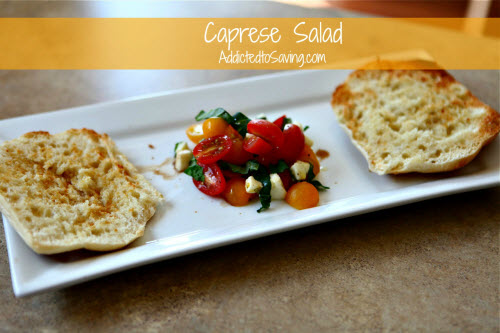
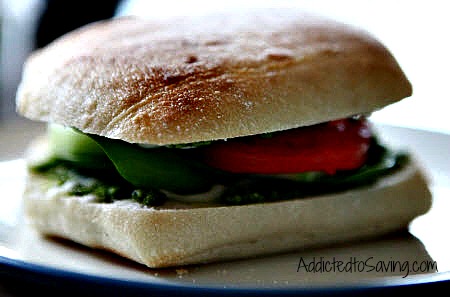
Caprese Salad Recipe
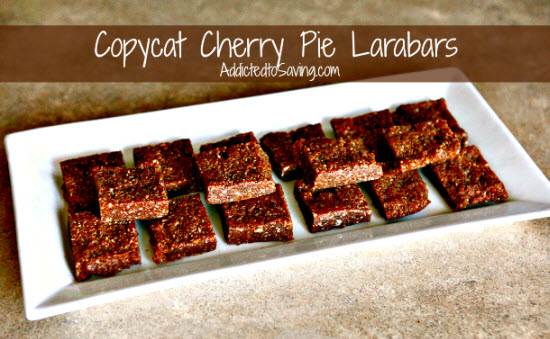
Copycat Cherry Pie Larabars Recipe
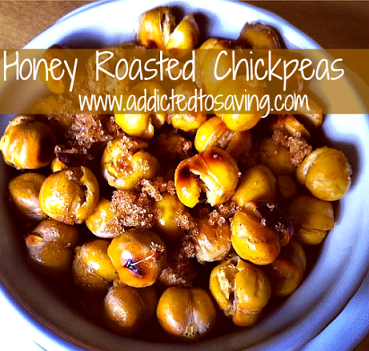
Honey Roasted Chickpeas Recipe

Edible Raw Cookie Dough Recipe
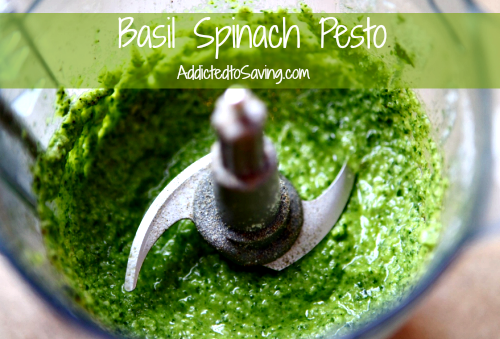
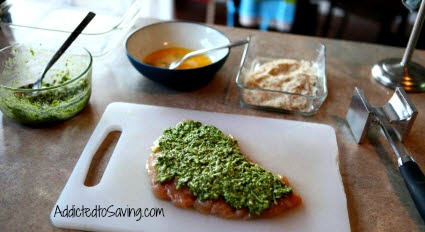
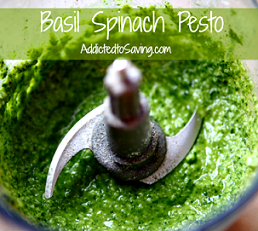
Basil Spinach Pesto Recipe
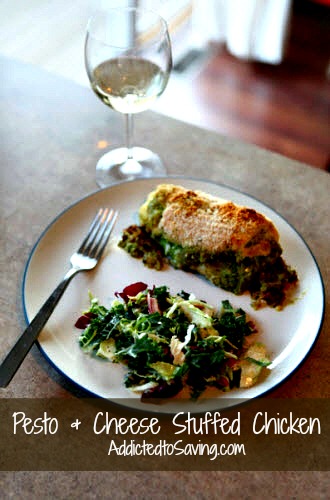
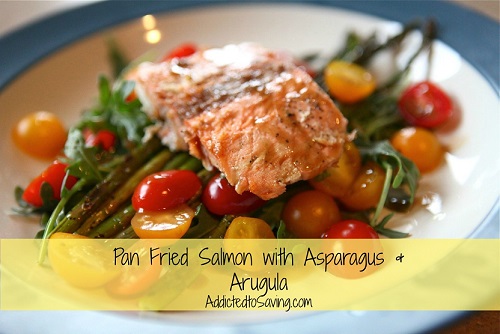
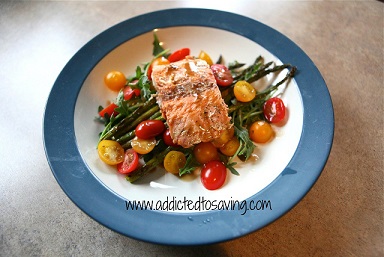
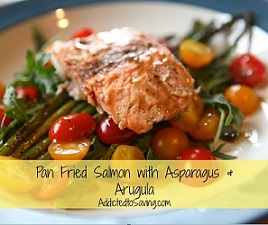
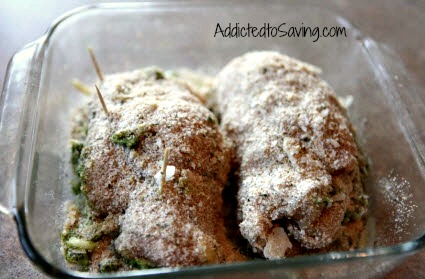
Pesto & Cheese Stuffed Chicken Recipe
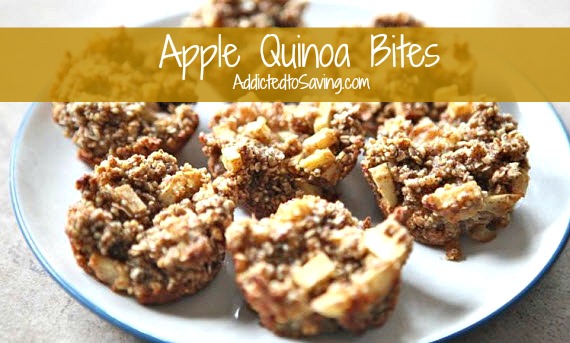
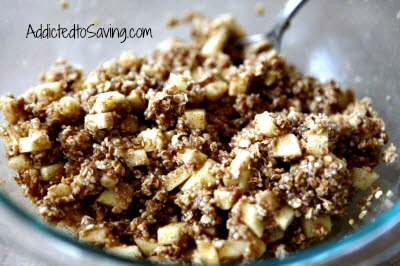
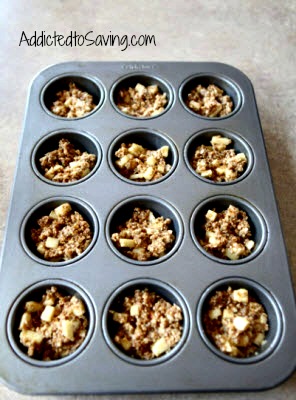
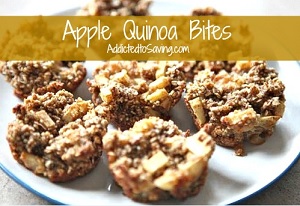
Apple Quinoa Bites Recipe
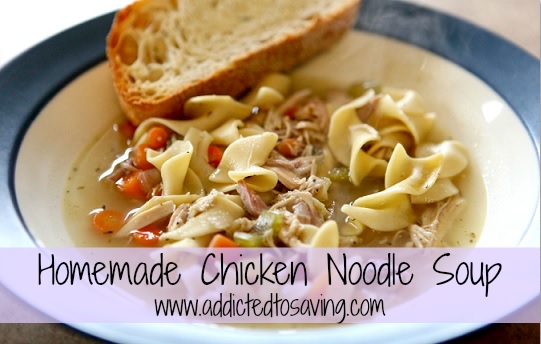
Homemade Chicken Noodle Soup Recipe
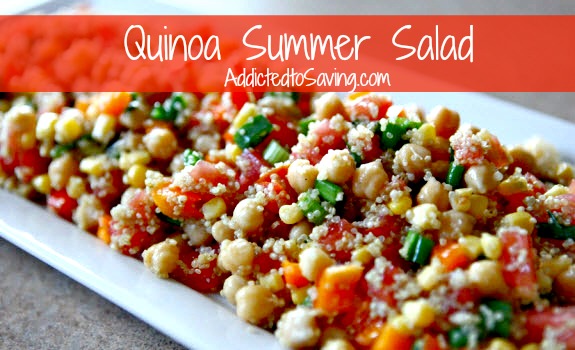
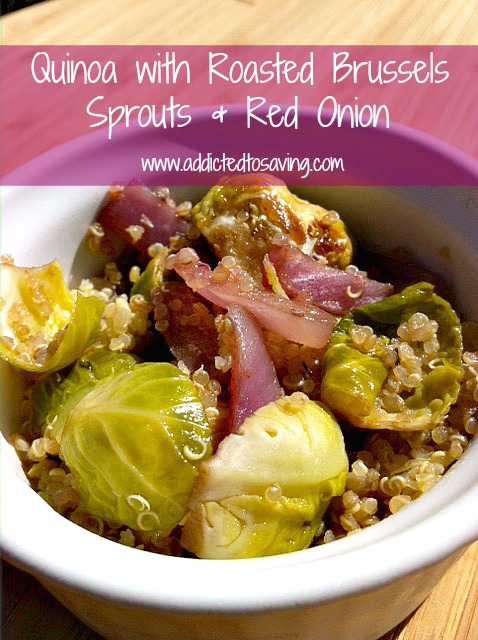
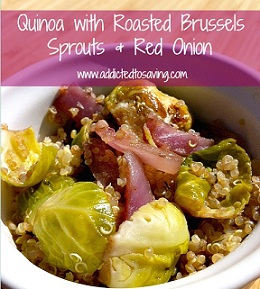
Quinoa Summer Salad Recipe

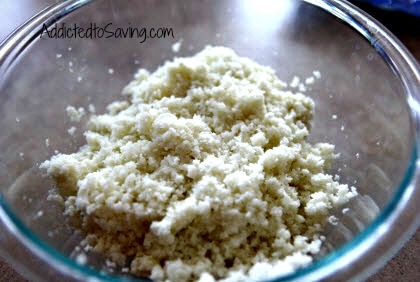
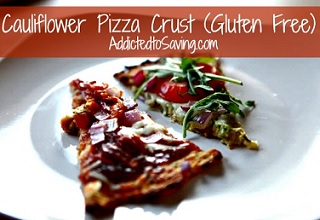
Cauliflower Pizza Crust Recipe (Gluten-Free)

)


)


 Thanks for coming to Addicted to Saving! Here’s a little bit about me so you can know who’s behind all these posts!
My name is Liza and I began my money-saving journey in the Spring of 2009 as a way to stretch a limited household income. I had lost my job and my hubby was self-employed. I launched Addicted to Saving in November of 2009 and it has grown by leaps and bounds. Since then, my hubby and I have struggled with the ups and downs of two failed adoptions and are now LOVING being parents to our little man Asher who we brought home from Ethiopia in August of 2013. I feel incredibly blessed to be able to help you save money. My goal is that you will have FUN and become empowered to save more and more money each week..
Thanks for coming to Addicted to Saving! Here’s a little bit about me so you can know who’s behind all these posts!
My name is Liza and I began my money-saving journey in the Spring of 2009 as a way to stretch a limited household income. I had lost my job and my hubby was self-employed. I launched Addicted to Saving in November of 2009 and it has grown by leaps and bounds. Since then, my hubby and I have struggled with the ups and downs of two failed adoptions and are now LOVING being parents to our little man Asher who we brought home from Ethiopia in August of 2013. I feel incredibly blessed to be able to help you save money. My goal is that you will have FUN and become empowered to save more and more money each week..