This shop has been compensated by Collective Bias, Inc. and its advertiser. All opinions are mine alone. #FallGlamping #Glamping #CollectiveBias
Are you a camper? I am not. I’ve camped a few times in my life and have not had enjoyable experiences any of those times… until now. Have you tried “glamping”? Glamping is another word for glamorous camping. I decided to try my hand at glamping and see if I had a better time spending time outside glamorously than the normal camping experiences I’ve endured.
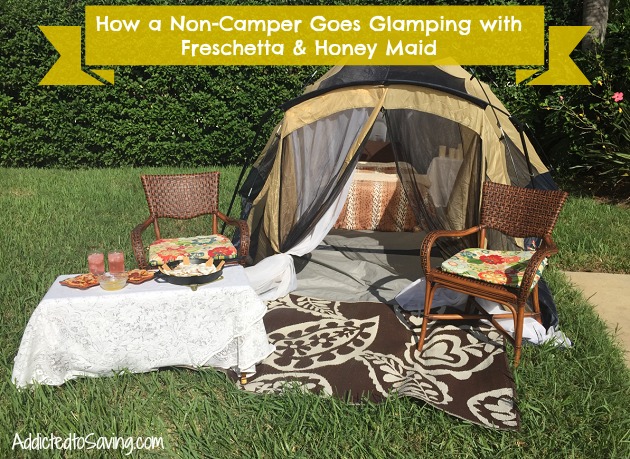
It was… fun! It was a lot of work to set up. I’m not going to lie. And I am not going to lie and tell you we went somewhere exotic to for our glamping experience. We did not. Having a three year old who is very very active and who also only sleeps good in his own bed, we decided to create our glamping experience right in our front yard. That way, I had running water, electricity AND indoor plumbing. Wink wink. Oh – and my three year old could sleep in his own room!
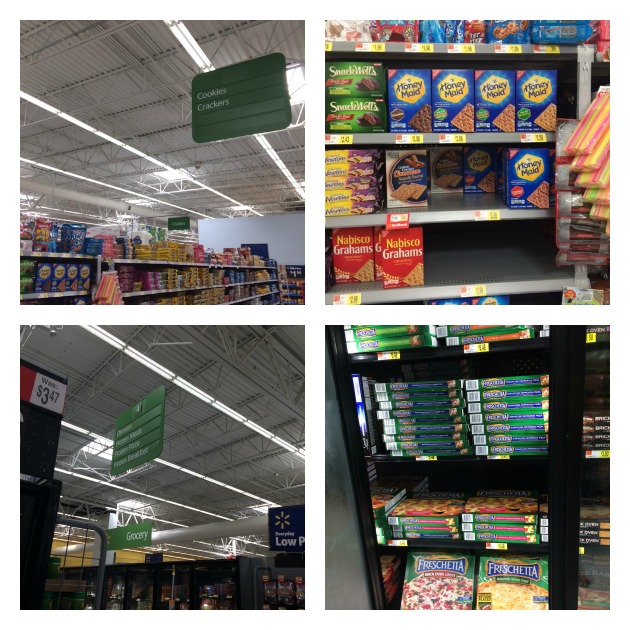
I headed to Walmart and bought some of the glamping supplies we needed including Honey Maid Graham Crackers and Freschetta® Brick Oven.
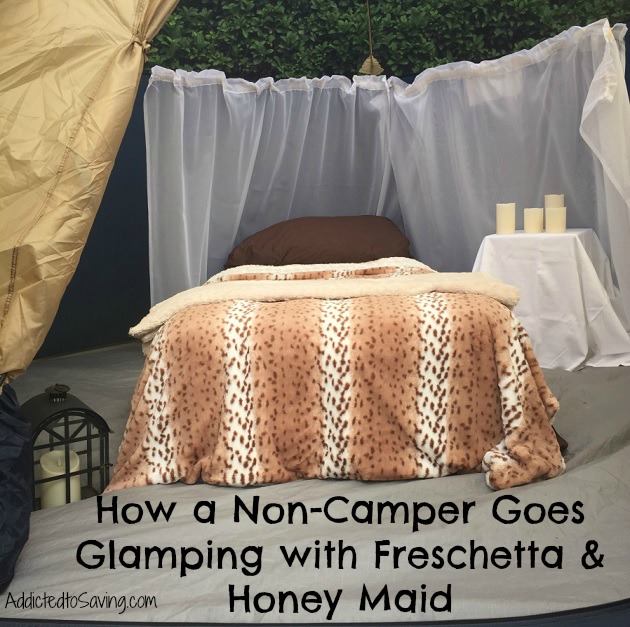
We set up our tent and got to work making it more glamourous. I brought out one of my favorite white leopard print blankets. It is SO soft and so luxurious, I knew that sleeping on an air mattress plus being
covered in this blanket would make my night’s sleep relaxing. We also hung light, airy, white curtains in the back of the tent as well as the front of the tent to give the tent more of a luxurious feel.
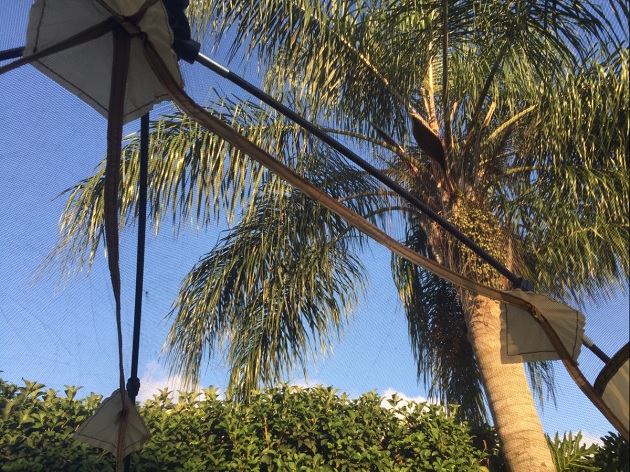
This is the view from our bed. The tent has an open air feeling as the top of it is just see through screen (you can cover it if it rains). I was so relaxed seeing the palm trees overhead!
On the entryway leading into the tent, we used an outdoor rug that is both visually appealing and also practical as I don’t like walking barefoot in the grass. So we could go from inside the chairs outside without having to walk on any grass.
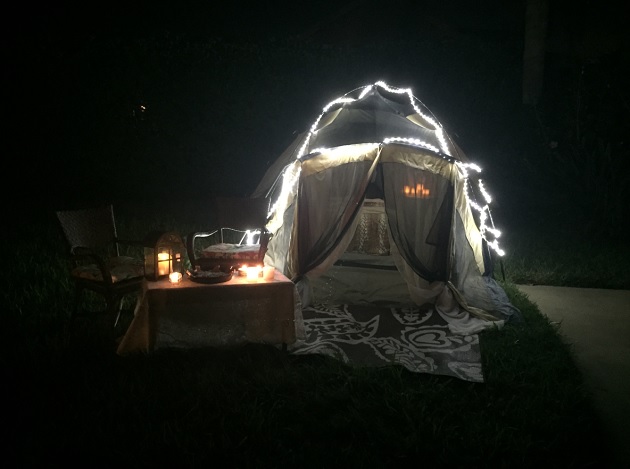
 And then we added both real candles and battery operated candles both on the inside and outside of the tent. (The candles inside the tent were all battery operated – no fire hazards for us! 😉 )
At night, we hung a strand of white lights to give us a bit more light.
Once we had our tent set up, we got to work on the food. I’ve never really associated Freschetta® Brick Oven® pizzas with grilling out before but now that we’ve grilled it, we will definitely do this again. Freschetta® Pizza has a crust that is made like fresh baked bread with only natural yeast and no chemical leaveners. It is topped with the most premium ingredients including sauce made from real tomatoes, 100% real cheese and the highest quality meats. You must try Freschetta® Naturally Rising Pizza while #glamping if you haven’t already!
Uncooked pizza on the grill.
Grilling the pizza gave it a bit of a grilled flavor and really kicked up the regular flavors of the pizza!
I do have to state that we covered the entire bottom of the grill with tin foil, however, you do not need to do this.
Cooked pizza after cooking on low for 14 minutes.
Steps to Grilling Your Freschetta® Brick Oven Pizza
1) Preheat grill on high for a least 5 minutes
2) Remove pizza from carton, clear overwrap film and cardboard disk
3) Place pizza on double layered aluminum foil in center of grill
4) Turn grill to low and cook for 10 to 14 minutes. Let pizza stand 2 minutes before serving.
Tips – Keep pizza frozen until placing on grill. Cooking times may vary depending on your grill. While we covered the entire grill with tin foil, you do not need to do this. Just cover the bottom of the pizza with a double layer of aluminum foil.
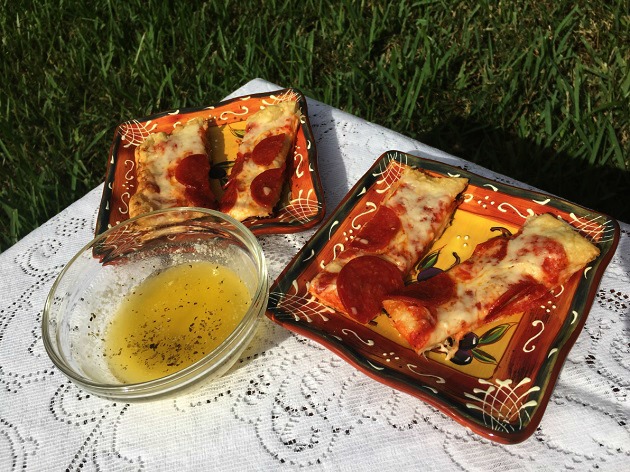
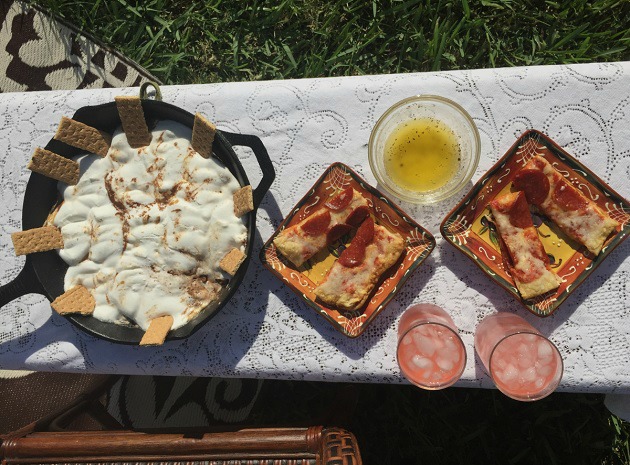
I made a butter dipping sauce to go along with the pizza. I used a half a stick of butter and added about ¼ Teaspoon of Garlic and about ¼ Teaspoon of Italian Herbs. The sauce was perfect for dipping our pizza into.
For dessert, I wanted to make a reliable dessert that most people associate camping with – S’Mores. However, I wanted to kick it up a notch. I made Peanut Butter Chocolate S’Mores Dip.
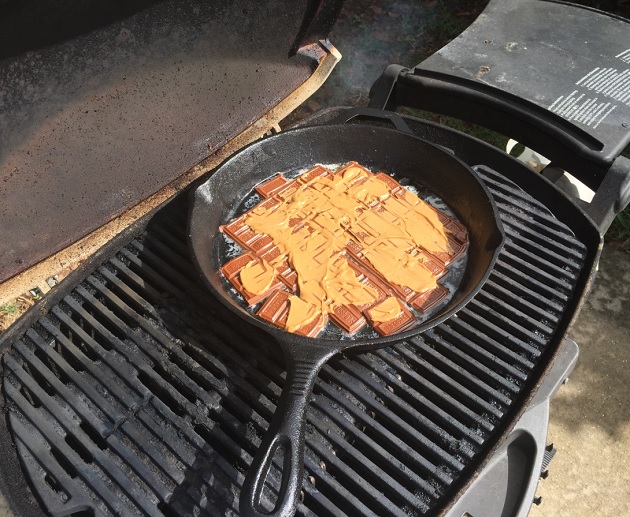
In a cast iron skillet, I started with chocolate bars and peanut butter.
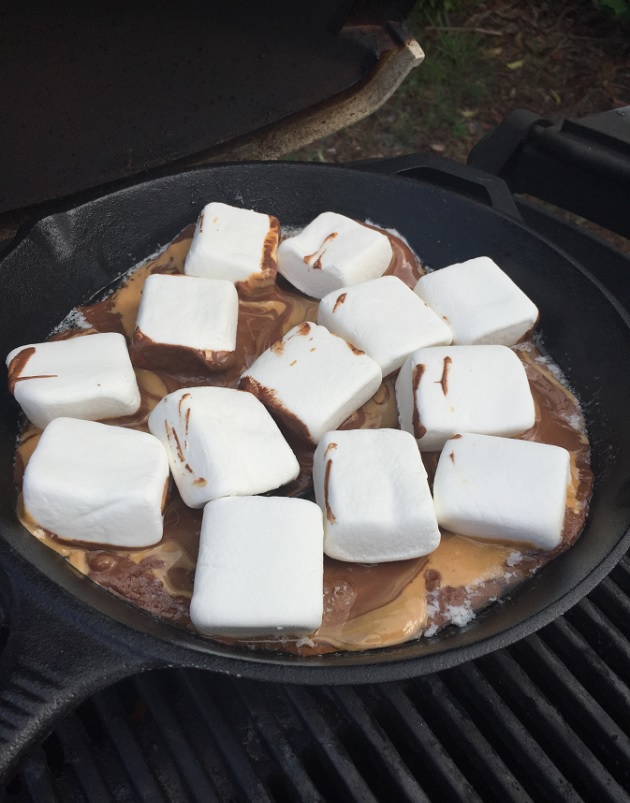
Once the chocolate melted, I topped it with marshmallows.

Peanut Butter Chocolate S’Mores Dip Recipe
Ingredients
4-6 Chocolate Bars
¼ cup Peanut Butter
Marshmallows (as needed)
2 T Butter
Instructions
Preheat the grill for a few minutes on low.
1) Rub melted butter on the inside of a cast iron skillet
2) Cover the bottom of the skillet with chocolate bars.
3) Spread peanut butter over the chocolate bars
4) Grill on low until chocolate peanut butter mixture is spreadable
5) Top with Marshmallows and cook a few minutes until they begin to melt.
6) Enjoy with Honey Maid Graham Crackers. SO SO good.
The Freschetta® Brick Oven Pizza with Butter Garlic Sauce and Honey Maid Graham Crackers dipped in Peanut Butter Chocolate S’Mores Dip made my glamping experience extremely tasty!
Have you gone glamping before? Share your tips for making a night of glamping truly glamourous!




 Thanks for coming to Addicted to Saving! Here’s a little bit about me so you can know who’s behind all these posts!
My name is Liza and I began my money-saving journey in the Spring of 2009 as a way to stretch a limited household income. I had lost my job and my hubby was self-employed. I launched Addicted to Saving in November of 2009 and it has grown by leaps and bounds. Since then, my hubby and I have struggled with the ups and downs of two failed adoptions and are now LOVING being parents to our little man Asher who we brought home from Ethiopia in August of 2013. I feel incredibly blessed to be able to help you save money. My goal is that you will have FUN and become empowered to save more and more money each week..
I haven’t been glamping before, but you made it look easy – and fun! Your s’mores dip looks so good, I might make some this weekend! #client